 on 5 September 2026
 Dolibarr Monthly Invoice Statement
The Dolibarr monthly invoice statement helps you track your collections more effectively.
Indeed, it sends the customer a consolidated summary of the month’s invoices to be paid.
Additionally, DoliPlus automatically deposits the generated document in the customer’s document library.
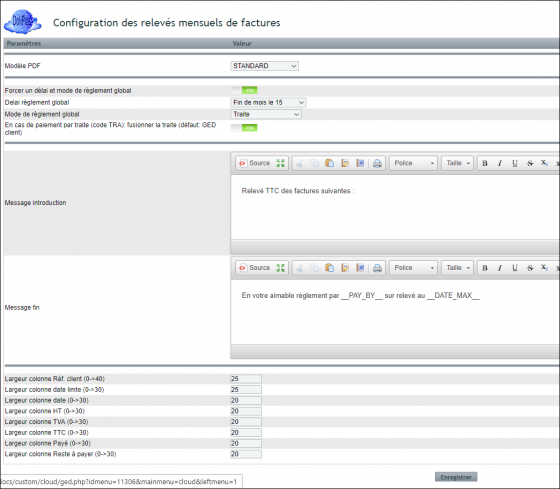
Here’s a preview of a Dolibarr monthly invoice statement to get you started.
How to generate a Dolibarr monthly invoice statement?
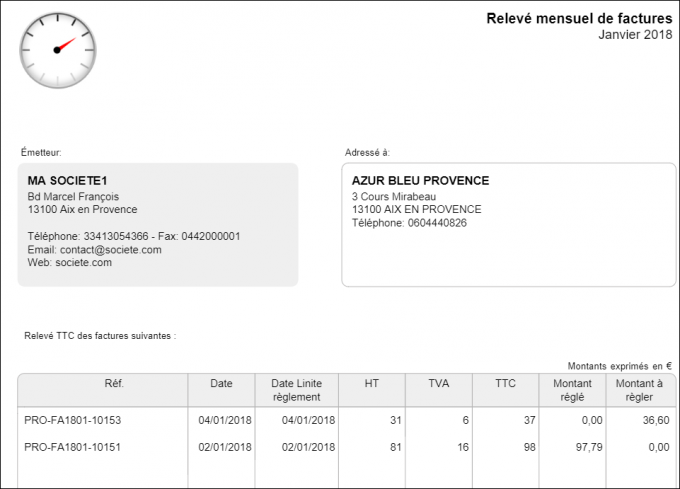
First, from the customer record, click the “Invoice list + operations” button.
Next, select a monthly period via the Date column.
Then, select the invoice lines using the checkboxes.
However, note that the process only includes standard or replacement invoices, validated and not replaced.
Moreover, the statement total corresponds to the outstanding balance. Therefore, it includes any partial payments made.
Here’s an example of the result obtained.
How to configure the Dolibarr monthly invoice statement?
First, from the customer record, click the “Invoice list” button.
Next, on the right, click the “Statement configuration” button.
Templates
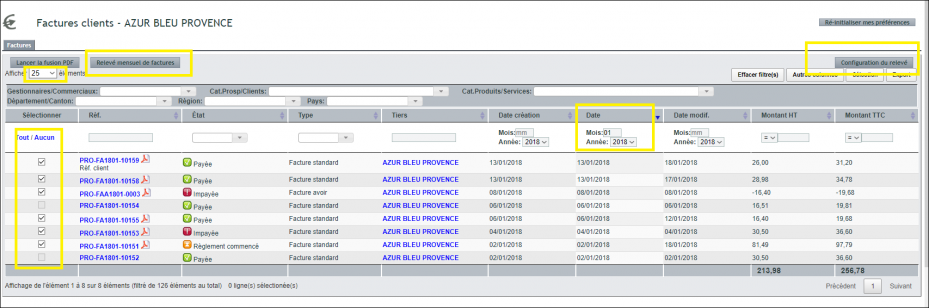
To begin, define a template from the provided dropdown list.
Enforce a global payment term and method
This option allows you to set a global payment term and method.
However, ensure that each invoice’s terms match the global method.
Draft:
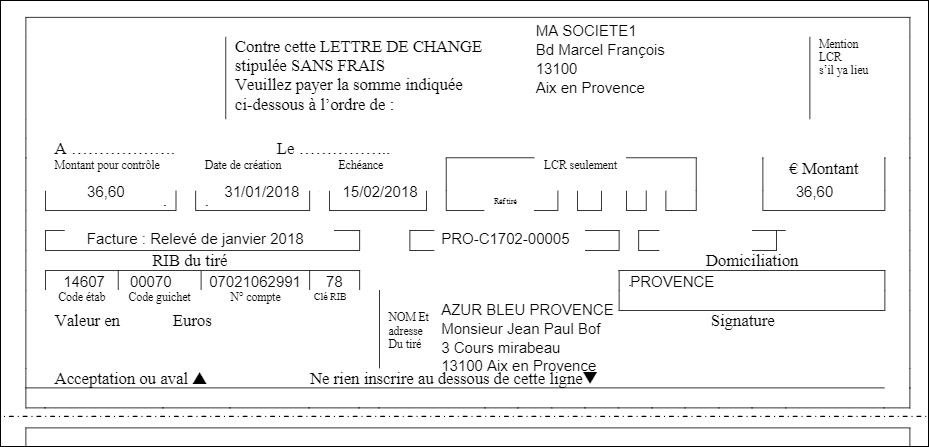
If the payment method is by draft, DoliPlus combines a draft covering the total amount. In practice, it places it after the statement or deposits it in the customer’s document library, depending on the enabled option.
Additionally, you must enter the customer’s IBAN to complete the draft.
Here’s an example of the corresponding configuration screen.
Messages
First, the statement opening message appears at the start of the table.
For example: Summary of the following invoices (VAT included):
Next, the end-of-page message accepts two substitution variables.
__PAY_BY__: DoliPlus replaces this with the global payment method, if defined.
__DATE_MAX__: DoliPlus replaces this with the due date, if globally defined.
For example:
Please pay by __PAY_BY__ on statement by __DATE_MAX__
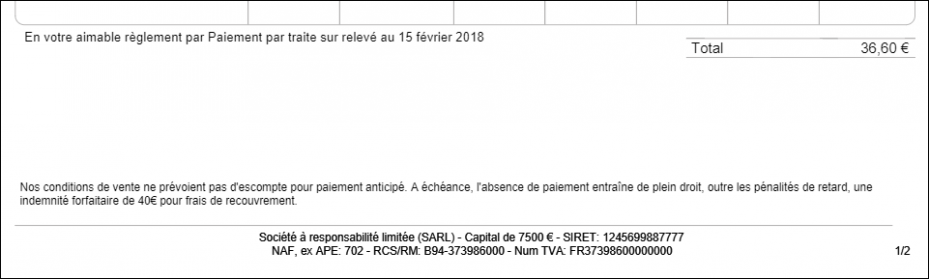
Here’s how these messages appear in the interface.
Statement columns
First, note that a width of zero hides the column.
Additionally, the system adjusts the width of the ref column based on available space.
Next, to customise the display, run print tests. This way, you can adjust column widths to your needs.
However, excessive values will result in poor output.
Finally, you can reuse the values from the screenshot, as these are the default values.
Here’s the column settings screen to wrap up.